-

- Sopto Home
-

- Special Topic
-
- Patch Cord Knowledge
-
- Best Practice for Copper Cabling

Patch Cord Knowledge
- Fiber Optic Connector Ferrule Design
- Fiber Optic Connector Design
- E2000 to ST Fiber Patch Cable Overview
- Acceptable and Unacceptable Fiber Connector End-Face Finishes
- Using Wipes and Cleaning Cassettes to Clean Fiber Patch Cords
- Not-Too-Tight Mating of Fiber Optic Connectors
- Matching Gel and Oils Contamination about Fiber Optic Connectors
- The Effect of Improper Use of Fiber Optic Connectors
- Why Fiber Optic Connectors are Fragile?
SOPTO Special Topic
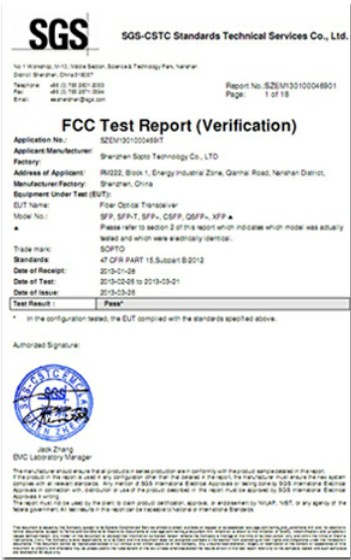
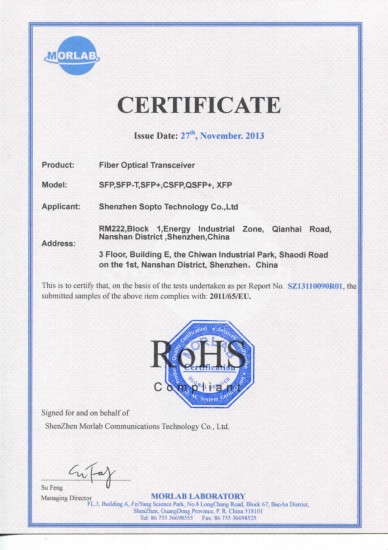
Certificate

Guarantee
Except products belongs to Bargain Shop section, all products are warranted by SOPTO only to purchasers for resale or for use in business or original equipment manufacturer, against defects in workmanship or materials under normal use (consumables, normal tear and wear excluded) for one year after date of purchase from SOPTO, unless otherwise stated...
Return Policies
Defective products will be accepted for exchange, at our discretion, within 14 days from receipt. Buyer might be requested to return the defective products to SOPTO for verification or authorized service location, as SOPTO designated, shipping costs prepaid. .....
Applications
 Fiber Patch Cords have a widely application. Where the need for the optical fiber connection, where you need fiber optic patch cords.
Testing Equipment
FTTX+ LAN
Optical Fiber CATV
Optical Communication System
Telecommunication
SNS Page


SOPTO Products
- Fiber Optic Transceiver Module
- High Speed Cable
- Fiber Optical Cable
- Fiber Optical Patch Cords
- Splitter CWDM DWDM
- PON Solution
- FTTH Box ODF Closure
- PCI-E Network Card
- Network Cables
- Fiber Optical Adapter
- Fiber Optical Attenuator
- Fiber Media Converter
- PDH Multiplexers
- Protocol Converter
- Digital Video Multiplexer
- Fiber Optical Tools
- Compatible
Related Products
Performance Feature
Good Water-proof
Low insertion loss;
low reflection loss;
Stability, good repeatability;
High-precision ceramic ferrule;
Compatible with NTT standard;
Precision Grinding and fully testing;
Compliance with international standards
Patch Cord Knowledge
Recommended


Best Practice for Copper Cabling
- Planning
The Change Request
Administration activities, moves, adds or changes (MACs), are initiated with a change request. The change request must contain all necessary information to begin the planning process. (See General Management section below)
Searching the Records
Once a request form is received, search the records to be sure of the circuit path. The floor plans provided by the system designer should show backbone/riser cables, telecommunications rooms (TRs)/floor distributors (FDs), and work area outlets (WAOs). Any changes or additions made since your cabling infrastructure was installed should also have been documented. If the records are stored in a database, a different screen can be displayed for each user. This screen should supply you with the information you need, including the riser and horizontal pairs serving the particular WAO and the locations of available pairs.
Check Design Guidelines and Match Cords
Make sure you know the specifications and design of your cabling infrastructure, since the use of lower performing copper patch cords will have the effect of limiting end-to-end performance. Maximum end-to-end channel performance is only possible when the cord is matched to the cabling.
Routing, Patch Cord Lengths and Density
Efficient Routing
To establish the correct cord length, first find the best route between the ports to be connected. This is usually the shortest route through horizontal and vertical cable guides that does not obstruct or interfere with other cords and connectors in the panel. Avoid routing cords through cable pathways that are already congested. Examples of cable pathways are:
- 1U and 2U horizontal patch cord management guides
- horizontal retaining bars
- vertical cable management channels
- cable trays
- wiring baskets
Vertical and Horizontal Sizing
Having established the best route for the cord, find the minimum required length by adding the horizontal and vertical distances.
Minimizing Slack
When selecting a cord, to make a cross connection, avoid excessive slack and provide a neat appearance. Tight cords will pull on connectors and too much slack complicates cord management, making the panel harder to work on.
Efficient Management
Ensure you have cords of the right length available and that panels are fitted with cable management accessories. Cord management guides and/or integrated cord management features are available for most SOPTO patching solutions.
In general, a 1U horizontal patch cord management guide supports a 24-port panel while 2U supports a 48-port panel. However, there may be some variation in this where the panel includes integrated cord management features.
Maintaining Old with New
Take care not to mix up cords of different cabling categories. Patch cords may be mechanically compatible across old and new cabling but, in any circuit, the component with the lowest specifications will determine end-to-end performance. For instance, when a Category 5e/Class D cord is used to connect Category 6/Class E cabling, the channel will only deliver Category 5e/Class D performance in accordance with TIA and ISO/IEC standards.
- Preparation
To minimize disconnect time, do as much preparation as possible before performing administration activities.
Study Administrative Records
Locate the ports that must be connected or reconnected. Ensure technicians have all the information they need, including the labeling information for the ports involved.
Cord Inspection
It is essential to ensure cords are of the right type and quality, and that they are clean and in good condition especially when reusing patch cords.
Patch Cords should be inspected for physical damage including:
- stress marks from bending on the sheath
- pullout of conductors from the plug
- pin contamination on plug end
- bent or missing pins on plug end
- Patching
Once work on a panel is started, it should be completed without delay using best practice at each stage.
Cord Handling
Kinks, snags, pinches and poor contacts can dramatically reduce the performance of a patch cord. The following factors are important in avoiding these problems.
Bend Radius
The minimum bend radius specified by standards is two times the diameter of the cordage and four times the diameter of the cable under no-load. The SYSTIMAX bend radius guidelines are 25 mm (1 inch) for PowerSUM and GigaSPEED XL cords, and two times the cord diameter for GigaSPEED X10D cords. Anything less may change the relative position of conductors to the point where transmission performance is reduced.
Cord Pulling and Stress
Be careful not to use excessive force during the patching process. This can stress cords and connectors, reducing their performance. If you need to use force in pulling a cord, something is wrong. Find the problem and fix it before proceeding.
Bundling
Bundling and tying cords gives the panel a neat appearance but tight bundling increases the risk of crosstalk.
Take care not to tighten ties to the point where individual cords cannot rotate freely with them. Use only products manufactured for this purpose, and consider the use of products that can be re-used without the use of tools such as “hook and loop” strapping.
Routing Cords Through Cable Pathways
If the existing cord is the right length, it may be possible to re-use it when re-routing a connection. If this is the case, remove the cord completely and re-run it in through the cable pathways. This is the only way to ensure there are no tangles, kinks or strains.
Unused Cords
Any unused cords and jumper wires should always be carefully removed from patch panels.
Steps in Removing and Adding Cords
Removing a patch cord
1. Locate the existing circuit on both fields of the TR/FD or equipment room (ER)2. unplug the patch cord at one end.
3. Gently lift the cord straight up, taking up slack until its movement is detected
4. Follow the cord routing, gently removing it along its length from the cable pathways
5. Find the other end and unplug it
6. Fully remove the cord
Adding a patch cord
1. Identify the location of the new circuit
2. Plug in one end of the patch cord to the outlet, patch panel port or block
3. At the field nearest to the switch and/or computer port field, locate the appropriate new point
4. Plug in the other end of the patch cord
5. Route the cord along its length into the cable pathways
In some cases, one end of the cord will remain plugged into the same port. Although it may not be necessary to unplug that end, it is important to remove the cord along its length from the cable pathways, to minimize the chance of snags and/or tangles that will make future administration difficult.
- Validation
Final Visual Inspection and Panel Closure
Patching must be right the first time since mistakes can cause costly disruption and re-work. The time taken to make a final visual check of connections is a good investment. When patch panels are mounted in enclosures, ensure these are securely closed and, where necessary, locked, making sure that cord slack is not snagged or pinched by the doors.
Update Documentation
The final step is to update the documentation to the as-built configuration and close the work order associated with the completed change request.
Related Knowledge:
- Reliability of Fiber Optic Patch Cord
- Fiber Optic Patch Cord Management Guide
- Best Practice for Copper Cabling
- Best Practice for Fiber Cabling