-

- Sopto Home
-

- Special Topic
-
- Module Knowledge
-
- How to install a XENPAK Transceiver Module?

Module Knowledge
- Tips for Buying 10G XFP Transceivers
- XFP Transceivers for Telecommunications
- Three Types of Ethernet SFP Transceiver Modules Introduction
- Info about High Density CXP Optical Module
- Multipurpose CFP Optical Modules
- Info about CFP Management Interface
- SFP+ Transceivers Short Range Module Overview
- 3 Reasons Every Network Needs GLC-LH-SM Transceiver
- Is the GLC-SX-MM Transceiver Right for Your Switch?
SOPTO Special Topic
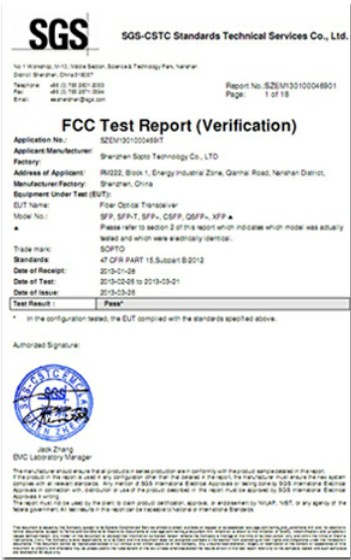
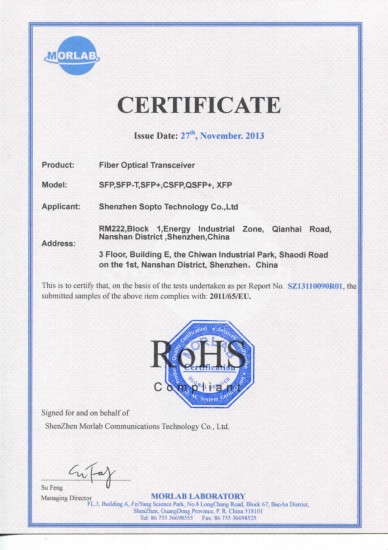
Certificate

Guarantee
Except products belongs to Bargain Shop section, all products are warranted by SOPTO only to purchasers for resale or for use in business or original equipment manufacturer, against defects in workmanship or materials under normal use (consumables, normal tear and wear excluded) for one year after date of purchase from SOPTO, unless otherwise stated...
Return Policies
Defective products will be accepted for exchange, at our discretion, within 14 days from receipt. Buyer might be requested to return the defective products to SOPTO for verification or authorized service location, as SOPTO designated, shipping costs prepaid. .....
Applications
 Fiber Optic Transceiver Modules can be applied to these occasions or fields.
Ethernet
IPTV
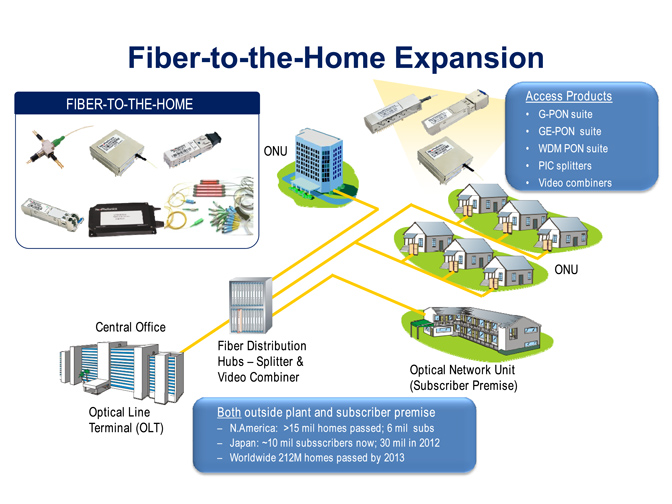
FTTX
Security
Video Monitor
SDH/SONET
Data Communication
Storage Area Networks
SNS Page


SOPTO Products
- Fiber Optic Transceiver Module
- High Speed Cable
- Fiber Optical Cable
- Fiber Optical Patch Cords
- Splitter CWDM DWDM
- PON Solution
- FTTH Box ODF Closure
- PCI-E Network Card
- Network Cables
- Fiber Optical Adapter
- Fiber Optical Attenuator
- Fiber Media Converter
- PDH Multiplexers
- Protocol Converter
- Digital Video Multiplexer
- Fiber Optical Tools
- Compatible
Related Products
 10G SFP+ Transceiver
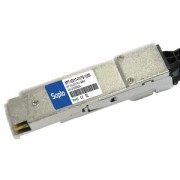 40G QSFP+ Transceiver
Performance Feature
Stable
Low cost
Small size
Economic
Dust-proof
High speed
Hot-pluggable
Good EMI, EMC
Wide appliaction field
DDM function available
Long transmission distance
Good Anti-static performance
Module Knowledge
Recommended
How to install a XENPAK Transceiver Module?
The 10-Gigabit XENPAK transceiver is a static-sensitive device. Always use an ESD wrist strap or similar individual grounding device when handling the XENPAK transceivers or coming into contact with the modules.
You will need these tools to install the XENPAK transceiver module:
- Small flat-blade screwdriver to loosen or tighten the XENPAK transceiver captive installation screws.
- Wrist strap or other personal grounding device to prevent (Min) dischage (ESD) occurrences.
- Antistatic mat or antistatic foam to set the XENPAK transceiver on.
- Fiber-optic end-face cleaning tools and inspection equipment. For complete information on inspecting and cleaning fiber-optic connections, refer to Patch Cord Connector General Cleaning Process and Connector Inspection Technique
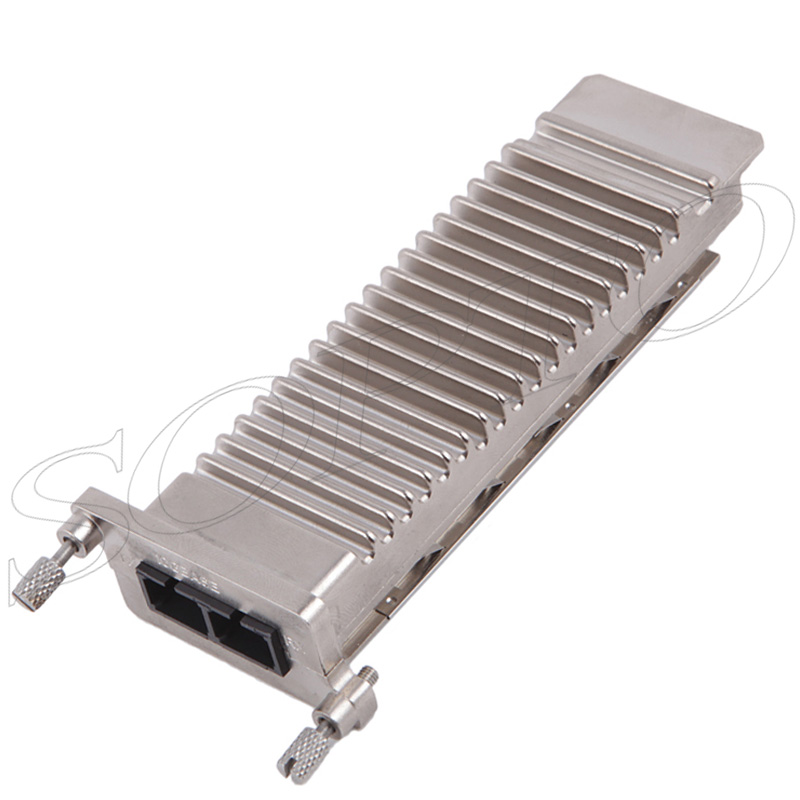
10G 850nm 300m XENPAK Transceiver
To install a 10-Gigabit XENPAK transceiver, follow these steps:
Step 1 Remove the 10-Gigabit Ethernet XENPAK transceiver from its protective packaging.
Note Do not remove the optical bore dust plugs until directed to do so later in the procedure.
Step 2 Check the label on the 10-Gigabit Ethernet XENPAK transceiver body to verify that you have the correct model for your network.
Step 3 Align the XENPAK transceiver with the opening in the module faceplate, and slide the XENPAK transceiver into the opening until the XENPAK transceiver faceplate is in contact with the module faceplate. (See the Figure Below) This step ensures that the XENPAK transceiver is fully seated in the module socket.

Install a XENPAK Transceiver Module
Step 4 Tighten the two captive installation screws to secure the XENPAK transceiver in the socket. Avoid cross-threading or over tightening the captive screws.
Any optical signal greater than -1 dB can damage the DWDM XENPAK transceiver. The maximum sensitivity for the DWDM XENPAK receiver is -7dB. You must use a 10 dB attenuator on short fiber-optic cable runs to prevent damage to the DWDM XENPAK transceiver and to guarantee the specified performance.
Before removing the dust plugs and making any optical connections, observe the following guidelines:
•Always keep the protective dust plugs on the unplugged fiber-optic cable connectors and the transceiver optical bores until you are ready to make a connection.
•Always inspect and clean the SC connector end-faces just before making any connections. Refer to the Tip on this page for a pointer to a fiber-optic inspection and cleaning white paper.
•Always grasp the SC connector housing to plug or unplug a fiber-optic cable.
Step 5 Remove the dust plugs from the network interface cable SC connectors. Save the dust plugs for future use.
Step 6 Inspect and clean the SC connector's fiber-optic end-faces.
For more high quality fiber optical module, please contact SOPTO.