-

- Sopto Home
-

- Special Topic
-
- Fiber Optics knowledge
-
- What's Your Method for Testing Fiber without Terminating It?

Fiber Optics knowledge
- Maintained Methods of Fusion Splicer Parts
- How to Use the Fiber Optic Cleaver?
- What are Fixed Attenuators & Variable Attenuators?
- Deployable Fiber Optic Systems for Harsh Mining Environments
- Developing Miniature Fiber Optic Cable Has Become the Trend
- Fiber Optic Cleaning Procedures
- 6 Steps to Selecting a Fiber Optic Cable
- Signal Attenuation Introduction
- How Fiber Transmission Works?
SOPTO Special Topic
Certificate


Guarantee
Except products belongs to Bargain Shop section, all products are warranted by SOPTO only to purchasers for resale or for use in business or original equipment manufacturer, against defects in workmanship or materials under normal use (consumables, normal tear and wear excluded) for one year after date of purchase from SOPTO, unless otherwise stated...
Return Policies
Defective products will be accepted for exchange, at our discretion, within 14 days from receipt. Buyer might be requested to return the defective products to SOPTO for verification or authorized service location, as SOPTO designated, shipping costs prepaid. .....
Applications
Fiber Optis can be used in so many fields:
Data Storage Equipment
Interconnects,Networking
Gigabit Ethernet
FTTx, HDTV,CATV
Aerospace & Avionics
Data Transfer Tests
Network Equipment
Broadcast Automotive
Electronics,Sensing
Oil & Gas, Imaging
Outside Plant,Central Office
Harsh Environment
Data Transmission
Illumination,Institutions
Ship to Shore,Education
Simulation,Military,Space
Unmanned Aerial Vehicles
Semiconductor Equipment
Diagnostics & Troubleshooting
Premise Networks Carrier Networks
Independent Telecommunication Providers
SNS Page


SOPTO Products
- Fiber Optic Transceiver Module
- High Speed Cable
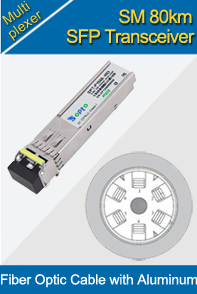
- Fiber Optical Cable
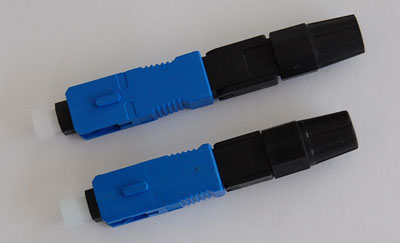
- Fiber Optical Patch Cords
- Splitter CWDM DWDM
- PON Solution
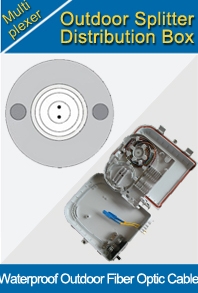
- FTTH Box ODF Closure
- PCI-E Network Card
- Network Cables
- Fiber Optical Adapter
- Fiber Optical Attenuator
- Fiber Media Converter
- PDH Multiplexers
- Protocol Converter
- Digital Video Multiplexer
- Fiber Optical Tools
- Compatible
Related Products
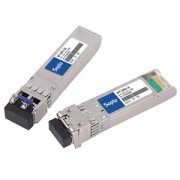 10G SFP+ Transceiver
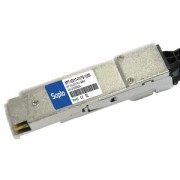 40G QSFP+ Transceiver
Performance Feature
Fiber Optics knowledge
Recommended
What's Your Method for Testing Fiber without Terminating It?
There's times when you need to test fiber without terminating the end. A good example is to test the fiber on the drum, or to prove that dark fiber is operational. One method is to use the Corning Cam mechanical splice installation tool.
To test using the Corning Cam mechanical splice tool, strip and cleave a pigtail, feed the cleaned fiber into one end of the Cam splice until it bows (droops). Strip, cleave and clean the tested fiber and insert into the opposite end of the mechanical splice until it droops. Close the levers on the installation tool. Clean and connect your pigtail to the OTDR. Shoot your trace. Once completed, remove the test fiber, while leaving the pigtail installed. Strip, cleave and clean your next fiber.
The best method is Mechanical Splicing; Mechanical splices are most popular for fast, temporary restoration or for splicing multimode fibers in a premises installation. They are also used - without crimping the fibers - as temporary splices for testing bare fibers with OTDRs or OLTSs.
Prepare the cables to be spliced
Strip jacket, removing an adequate amount of jacket, usually 2-3 m, for splicing and dressing the buffer tubes and fibers in the splice closure. Leave the proper amount of strength members to attach the cable to the closure. Refer to the splice closure directions for lengths needed. Clean all water-blocking materials using appropriate cleaners.
Remove buffer tubes exposing fibers for splicing. Generally splice closures will require ~1 m buffer tubes inside the closure to and ~ 1 m fiber inside the splice tray. Clean all water-blocking materials.
Prepare the fibers to be spliced
The process is the same for all splice types: strip, clean & cleave. Each fiber must be cleaned thoroughly before stripping for splicing. When ready to splice a fiber, strip off the buffer coating(s) to expose the proper length of bare fiber. Clean the fiber with appropriate wipes. Cleave the fiber using the process appropriate to the fiber cleavers being used.
Making the Mechanical Splice
Insert the first fiber into the mechanical splice. Most splices are designed to limit the depth of the fiber insertion by the buffer coating on the fiber. Clamp the fiber in place if fibers are held separately. Repeat these steps for the second fiber.
Optimizing Splices Using a Fiber Optic Laser Pen
You can sometimes improve the loss of a mechanical splice by gently withdrawing one of the fibers a slight amount, rotating it slightly and reinserting it. It works best with a VFL (visual fault locator) if the fiber ends that are being spliced are visible.
Testing
Splices can be used to create long cable lengths by splicing multiple cable segments. After splicing, the only way to test it is with an OTDR. Since OTDRs have directional errors, testing may be required from both directions and averaged. Generally long concatenated cables are tested with an OTDR and traces kept for documentation in case of restoration. Be aware of the OTDR distance resolution as a limitation of testing short premises cables.
For purchasing more high quality fiber optics with low cost or for more products’ information, please contact a Sopto representative by calling 86-755-36946668, or by sending an email to info@sopto.com.