-

- Sopto Home
-

- Special Topic
-
- Fiber Optics knowledge
-
- Steps for terminating fiber optic cable using epoxy

Fiber Optics knowledge
- Maintained Methods of Fusion Splicer Parts
- How to Use the Fiber Optic Cleaver?
- What are Fixed Attenuators & Variable Attenuators?
- Deployable Fiber Optic Systems for Harsh Mining Environments
- Developing Miniature Fiber Optic Cable Has Become the Trend
- Fiber Optic Cleaning Procedures
- 6 Steps to Selecting a Fiber Optic Cable
- Signal Attenuation Introduction
- How Fiber Transmission Works?
SOPTO Special Topic
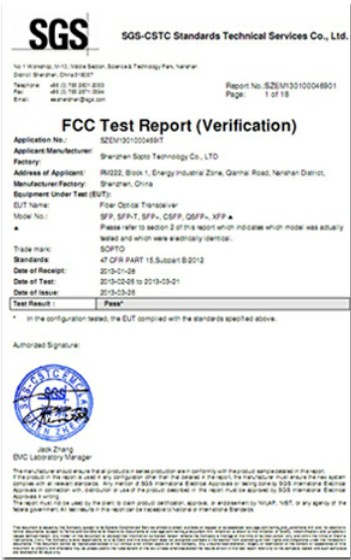
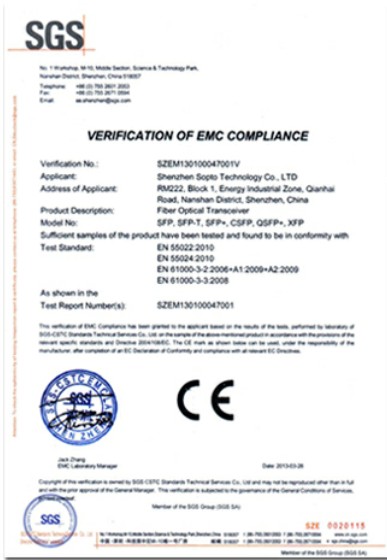
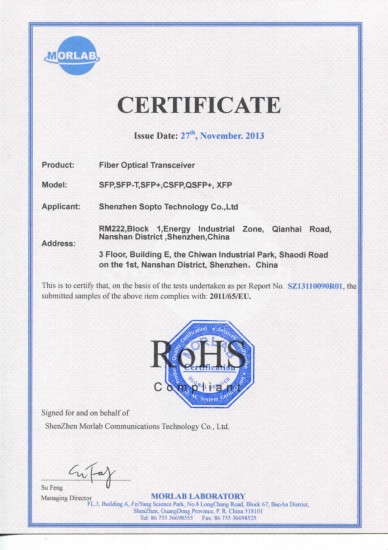
Certificate
Guarantee
Except products belongs to Bargain Shop section, all products are warranted by SOPTO only to purchasers for resale or for use in business or original equipment manufacturer, against defects in workmanship or materials under normal use (consumables, normal tear and wear excluded) for one year after date of purchase from SOPTO, unless otherwise stated...
Return Policies
Defective products will be accepted for exchange, at our discretion, within 14 days from receipt. Buyer might be requested to return the defective products to SOPTO for verification or authorized service location, as SOPTO designated, shipping costs prepaid. .....
Applications
Fiber Optis can be used in so many fields:
Data Storage Equipment
Interconnects,Networking
Gigabit Ethernet
FTTx, HDTV,CATV
Aerospace & Avionics
Data Transfer Tests
Network Equipment
Broadcast Automotive
Electronics,Sensing
Oil & Gas, Imaging
Outside Plant,Central Office
Harsh Environment
Data Transmission
Illumination,Institutions
Ship to Shore,Education
Simulation,Military,Space
Unmanned Aerial Vehicles
Semiconductor Equipment
Diagnostics & Troubleshooting
Premise Networks Carrier Networks
Independent Telecommunication Providers
SNS Page


SOPTO Products
- Fiber Optic Transceiver Module
- High Speed Cable
- Fiber Optical Cable
- Fiber Optical Patch Cords
- Splitter CWDM DWDM
- PON Solution
- FTTH Box ODF Closure
- PCI-E Network Card
- Network Cables
- Fiber Optical Adapter
- Fiber Optical Attenuator
- Fiber Media Converter
- PDH Multiplexers
- Protocol Converter
- Digital Video Multiplexer
- Fiber Optical Tools
- Compatible
Related Products
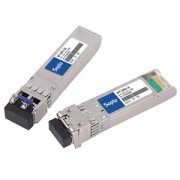 10G SFP+ Transceiver
 40G QSFP+ Transceiver
Performance Feature
Fiber Optics knowledge
Recommended
Steps for terminating fiber optic cable using epoxy
Once you have your bulk fiber cable, follow the steps below:
To begin, strip the cable down to the bare fiber using an appropriate fiber stripper such as the SOPTO Fiber Stripper. After you have prepared the end of the cable you may begin to mix the epoxy resin and hardener together and load it into a syringe, unless of course you are using pre-loaded epoxy syringes, which are premixed and kept frozen until use. Now, from the syringe you must inject the epoxy directly into the connector ferrule.
Once you have your connector properly prepared with epoxy, you are ready to insert the fiber cable so that the cable is seated inside of the connector wall and the bare fiber core sticks out about a half an inch from the front of the ferrule. At this point, if your cable is jacketed, you will want to use a crimping tool such as the Premier Master Crimp Tool to secure the connector to the jacket and strength members of the cable. Two crimps may be required to accomplish this properly.
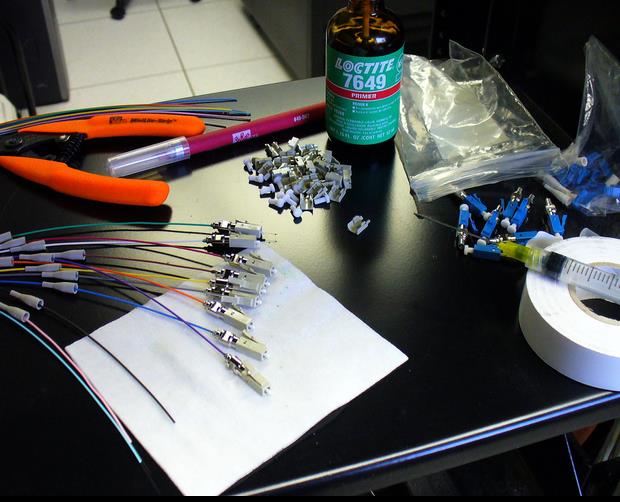
Terminating fiber optic cable tools
The next step in the process is allowing the epoxy to cure. Place the connected end into a curing holder to ensure that the end of the fiber is not damaged while curing. Now place the cable and curing holder into a curing oven. To avoid “wicking” while curing with a conventional oven, situate the connector so that the end is facing down. This positioning will ensure that the epoxy does not come out of the back side of the connector and compromise the strength member of the cable. Refer to the documentation of your specific epoxy for accurate curing times and temperatures.
Having sufficiently cured the epoxy you are now ready to move on to the next step, cleaving the excess protruding fiber core. You will want to cleave the fiber with a fiber cleaver tool such as the Sopto Economy Fiber Cleaver, as close to the ferrule tip as possible while avoiding any sort of twisting motion. Once cleaved, it is important that you properly dispose of the fiber clipping. A regular piece of tape will do just fine at retaining your fiber debris. If you do not properly dispose of all fiber pieces they could easily end up in your skin or even in somebody’s eye or respiratory system. A short strand of fiber can cause more damage than you would at first imagine.
With the excess fiber cleaved and properly disposed of, you may begin the task of polishing the fiber end to a smooth finish. Using either fiber polishing film or a fiber polishing tool you will effectively remove any excess epoxy from the ferrule tip and buff out any imperfections on the face of the fiber. Without a smooth fiber surface any light passing through is subject to loss. The idea is to start with a coarse grit and work your way to a very fine grit film.
If you are satisfied with your polished finish then you may move on to the cleaning of the ferrule and fiber tip. With a lint-free wipe dipped in 99% reagent-grade alcohol, gently wipe the surface area of the ferrule and fiber tip and immediately wipe them dry with another dry lint-free wipe. You may optionally use a can of compressed air to finish the process.
Your connectorized cable is now complete. To ensure good standards, however, it is wise to inspect the tip with a 100x to 200x microscope such as the Fiber Inspection Microscrope. Finally, test your cable with an optical fiber testing tool for insertion loss and return loss where needed.
For more high quality and low cost fiber optics, please contact SOPTO.
Related Knowledge:
What is a Fiber Optic Patch Panel?
Fiber Optics’ Manufacturing Method
Optical Fiber Cable General Cabling Guidelines
Preparation before Striping and Cleaning Indoor Fiber-Optics Cable