-

- Sopto Home
-

- Special Topic
-
- Twinax Cable Knowledge
-
- How to Make an Ethernet Cat5e or Cat6 Cable?

Twinax Cable Knowledge
- Cable Labeling as Part of Data Center Management
- How to Correctly Run cables On Servers in a Data Center?
- 4 Realities You Should Consider 10G Ethernet for Your Business
- Is it finally the end of copper?
- Why We Need Both 40G and 100G Ethernet Cable?
- What is Twisted Pair Cable?
- Benefits of Twisted Pair Cable Construction
- Why Copper Is Used in Cables?
- A Brief Look at Ethernet Cable Construction
SOPTO Special Topic
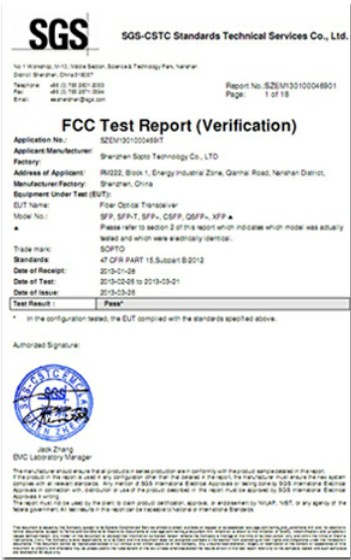
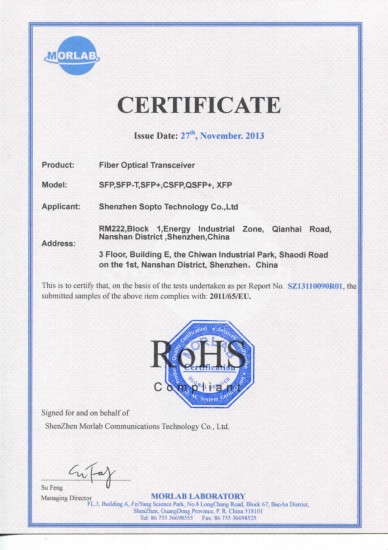
Certificate

Guarantee
Except products belongs to Bargain Shop section, all products are warranted by SOPTO only to purchasers for resale or for use in business or original equipment manufacturer, against defects in workmanship or materials under normal use (consumables, normal tear and wear excluded) for one year after date of purchase from SOPTO, unless otherwise stated...
Return Policies
Defective products will be accepted for exchange, at our discretion, within 14 days from receipt. Buyer might be requested to return the defective products to SOPTO for verification or authorized service location, as SOPTO designated, shipping costs prepaid. .....
Applications
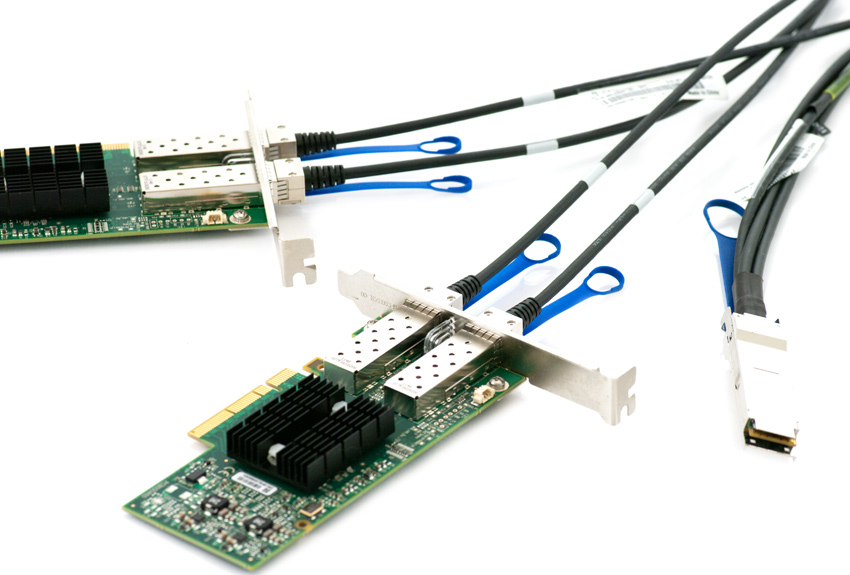 Twinax Cables are mainly used with PCI or PCI-E Card for the short distance interconnection in the server room.
SNS Page


SOPTO Products
- Fiber Optic Transceiver Module
- High Speed Cable
- Fiber Optical Cable
- Fiber Optical Patch Cords
- Splitter CWDM DWDM
- PON Solution
- FTTH Box ODF Closure
- PCI-E Network Card
- Network Cables
- Fiber Optical Adapter
- Fiber Optical Attenuator
- Fiber Media Converter
- PDH Multiplexers
- Protocol Converter
- Digital Video Multiplexer
- Fiber Optical Tools
- Compatible
Related Products
Performance Feature
Stable Transmission Speed
Reliable Transmission
Various Length Selection
Wider Operating Temperature
Good for HPC
Good for Data Center
Twinax Cable Knowledge
Recommended
How to Make an Ethernet Cat5e or Cat6 Cable?
Step 1
Strip off 2 inches of jacket on the cable. Cut the excess ripcord off. (Note: If you're using Cat6 cable, it may have a wire separator between the 4 pairs of wires. Cut that off as well).
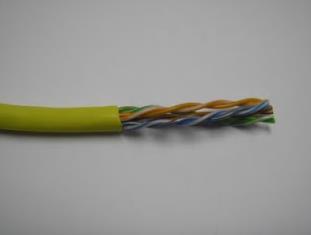
Strip off 2 inches of jacket on the cable
Step 2
Untwist all 4 pairs of wire.
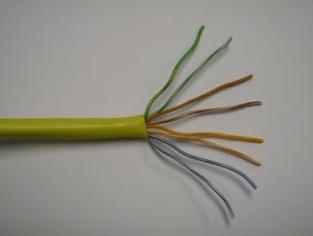
Untwist all 4 pairs of wire
Step 3
Follow the standard 568b Wiring Diagram:
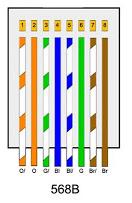
568b Wiring Diagram
Step 4
Hold the wires flat and use scissors to cut straight across, leaving 1/2" of wire exposed.
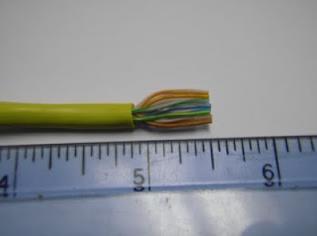
Step 4a
If you're making Cat6 cables, your mod plug will come with a loadbar. This small plastic piece must go on before you insert the wires into the mod plug.
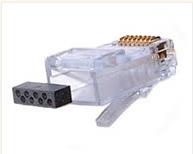
Insert the mod plug
Step 5
Insert the wires into your modular plug, making sure to keep the wires flat and in the same order. Verify that the wires are all flush at the very end of the plug. Note how the cable jacket is past the crimp spot on the plug and the wires are all the way to the end.
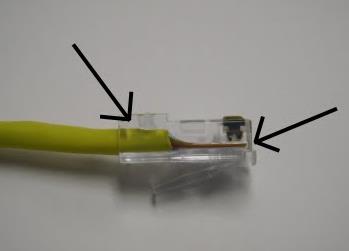
Insert the wires into your modular plug
Step 6
Insert mod plug into crimp tool and squeeze handle. Keep slight pressure on the cable (towards the crimp tool) as you're crimping the plug. This will ensure nothing comes loose as you squeeze the handle and crimp down the mod plug.
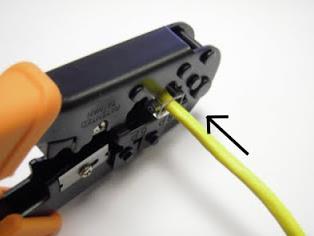
Insert mod plug into crimp tool and squeeze handle
Step 7
Remove mod plug from crimp tool and verify everything was done correctly. Note how the crimp is pushing down on the jacket and the pins have seated into the wire. Now follow the same process on the other side.
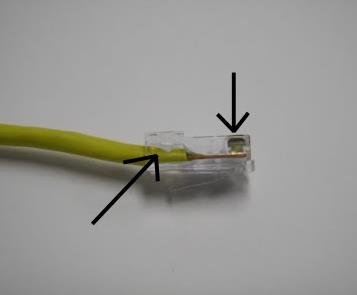
Remove mod plug from crimp tool and verify everything was done correctly
Step 8
Now that you have a completed Ethernet cable, plug one end into your Transmitter and the other end into the Receiver. The wires will light up either "Green" or "Red". If you have done everything correctly, you should see all green lights. If not, you will need to go back and redo the side causing the error.
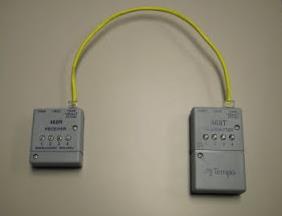
Test the cable
For more info, please browse our website. For purchasing network cables or Ethernet high speed cables, please contact a Sopto representative by calling 86-755-36946668, or by sending an email to info@sopto.com.